|
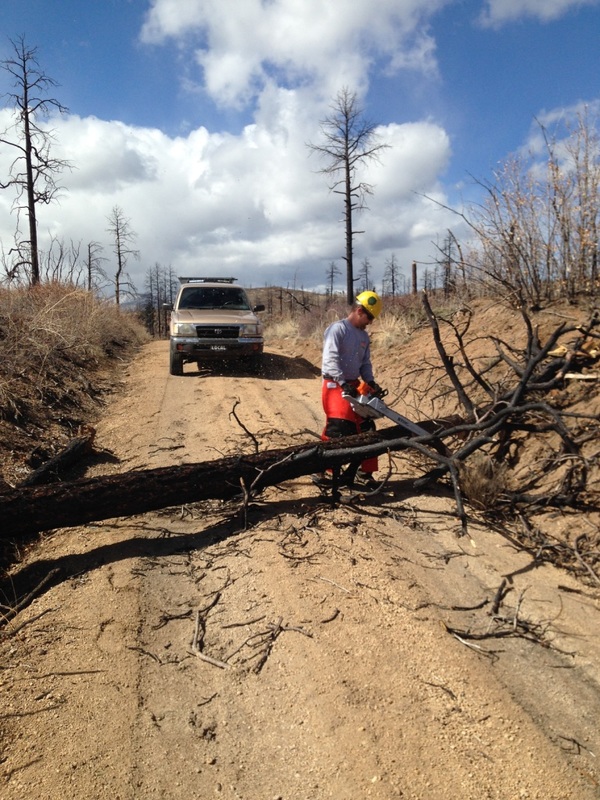
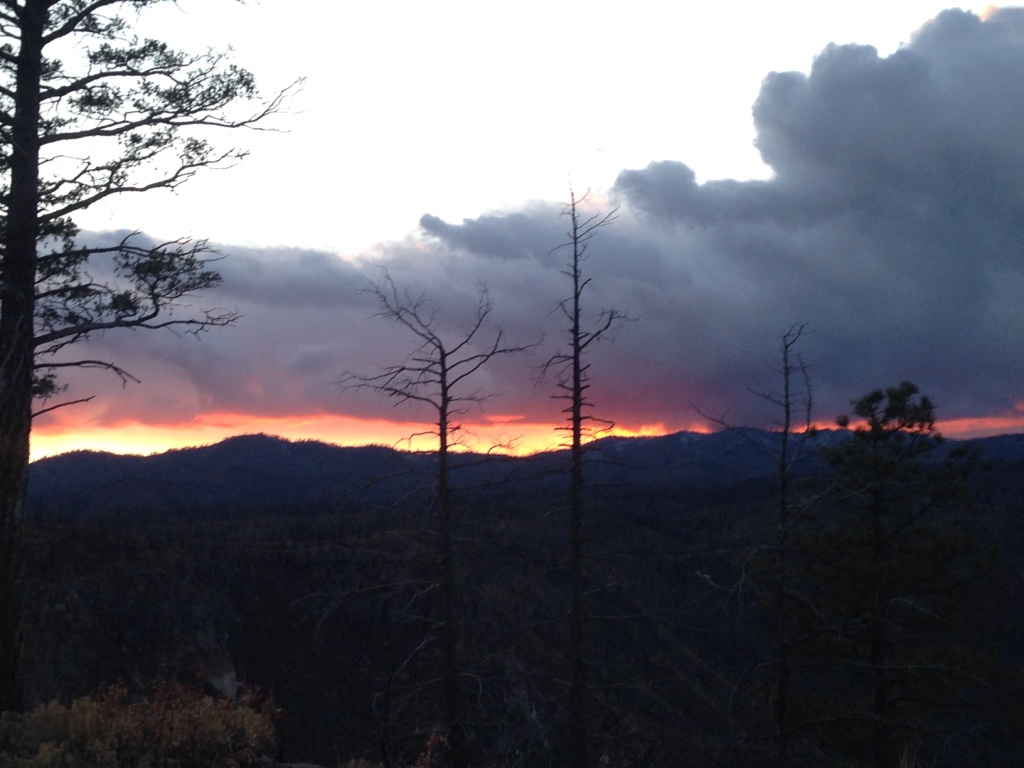
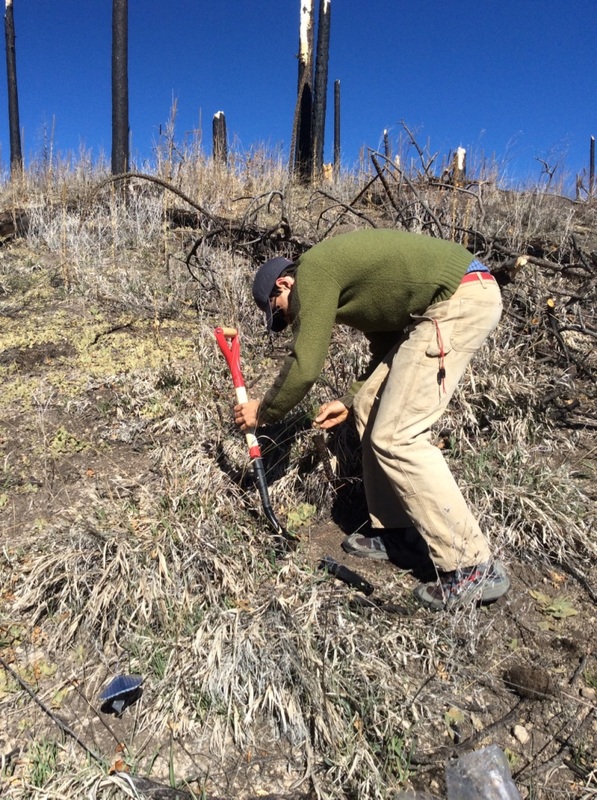
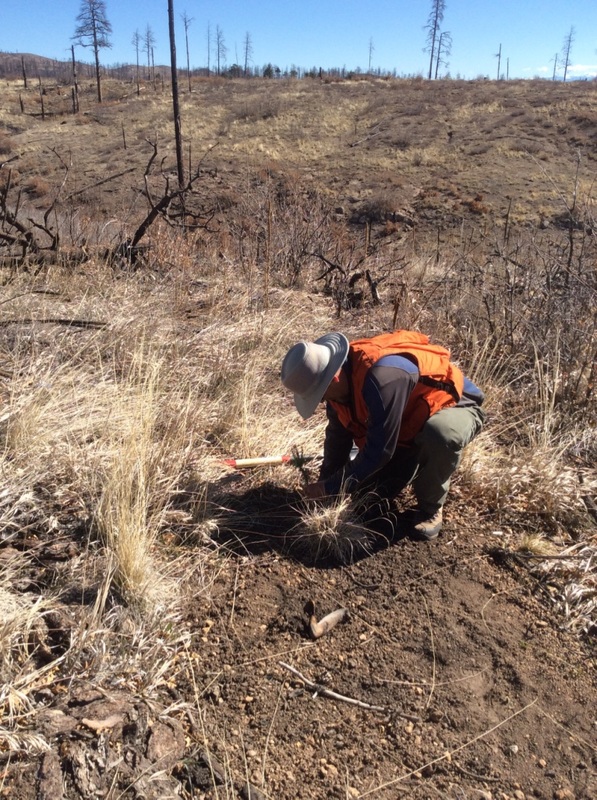
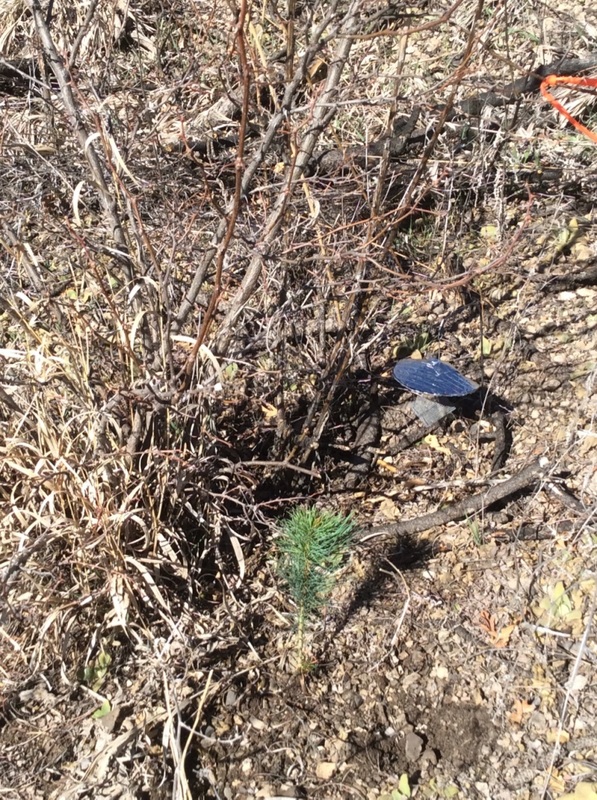
The bigger, hotter fires that are occurring in the southwestern US present some real challenges for both forests and society. In many of the more recent big fires, about 20-40% of the area burned is really hot and kills the overstory trees. This changes the environment because the overstory trees that provided shade are no longer alive. One of the things that we’re trying to understand is how tree seedlings survive (or don’t) in this hotter drier environment. To begin, we wanted to start a pilot project so we could collect some preliminary information and figure out some of the logistical challenges. One thing that I’ve learned in my research career so far is that about half of what seem like good ideas in the lab don’t work in the field and that things almost always take 50% longer than I figured they would. On 1 April, Dunbar and I drove up to Santa Fe to pick up 196 seedlings to begin a pilot regeneration study in the footprint of the Las Conchas fire on the east flank of the Jemez Mountains. While there hadn’t been much in the way of precipitation since early February, we headed northwest out of Santa Fe to find it snowing hard at about 7000 feet. We arrive at the forest road to find the gate locked until 15 April and all I can think is – it will be much warmer sleeping in my bed tonight if we can’t get through this gate. My hopes for a warm night of sleep were quickly dashed as the good folks at the USFS Jemez Ranger district let us through the gate. C’est la vie. As we ventured down the road, we found lots of fire-killed trees that came down during the winter. So we got to work clearing as we went so we could locate places to plant the seedlings. After getting as far down the road as we needed to get to reach the lowest elevation we planned to plant, we began the slow process of scoping out locations that met the various criteria we hypothesize are important for influencing seedling survival and growth. From this pilot project we are hoping to get some preliminary data on how seedling survival and growth vary depending on which aspect they are planted. We know that a big, hot wildfire that kills large patches of overstory trees changes the conditions on the ground. Specifically, without the shade that the large trees provide, the conditions at ground level get hotter and drier. Since north facing slopes receive less of the Sun’s energy and south facing slopes receive more energy, we think that seedlings will have a better chance of surviving and will grow faster on north facing aspects and a lower chance of surviving and less growth on south facing aspects. That day we identified a number of locations that met our criteria and decided it was time to set up camp for the night. We found a great spot on the edge of a canyon to spend the night. Of course it was a cold night, with temperatures in the teens. That is when I figured out that my 15 degree sleeping bag no longer lived up to its temperature rating. It was a looooong night. After we each had a large bowl of oatmeal (mmmm, like I didn’t eat enough of that every day for four months each field season during grad school) we headed out to start planting. We began planting and deploying the sensors to measure temperature and relative humidity (you can read about building your own space mushrooms here). Since we think that seedling survival and growth will be largely a function of how hot and dry the environment is, we need to measure how temperature and relative humidity vary by aspect. Now, for the things not working and taking longer than I expected part… I figured that planting seedlings would require a good shovel with a long, narrow blade. I was right, I just chose incorrectly when I purchased the shovel that I thought would do the job. Those long, narrow blade shovels they sell at the home improvement store probably work real well if you are trying to plant in your yard, but when the soil is rocky, they are a challenge to get into the ground and the blade tends to flex A LOT (and bend) when you are trying to create a hole for your seedling. That leads me to the taking longer part. I figured that it would take 4-5 hours and we would head out around 12 or 1pm. Well, add 50%.
In research we typically develop pilot projects so we can obtain preliminary data to refine our hypotheses. In this case we’ll probably find that temperature and relative humidity only explain part of survival and growth. Some other things we plan to measure will hopefully explain the rest of the variability. The other thing that pilot projects are really useful for is figuring out how poorly conceived your approach is and how LONG something is really going to take. As it turns out, several companies make robust metal shovel looking things that are made especially for planting seedlings in rocky forest soils. Imagine that. And, while my mind tells me that I can surely be hunched over all day wrestling with rocky soil and a shovel, my body told me that afternoon that there was no way it was going to happen two days in a row. Lessons learned! Stay tuned for future planting adventures because we were recently awarded a grant from the Joint Fire Science Program to implement the full-fledged planting experiment. We just ordered about 600 trees to plant this coming fall and of course I’ll be purchasing several of those special planting shovels and an economy size bottle of ibuprofen.
0 Comments
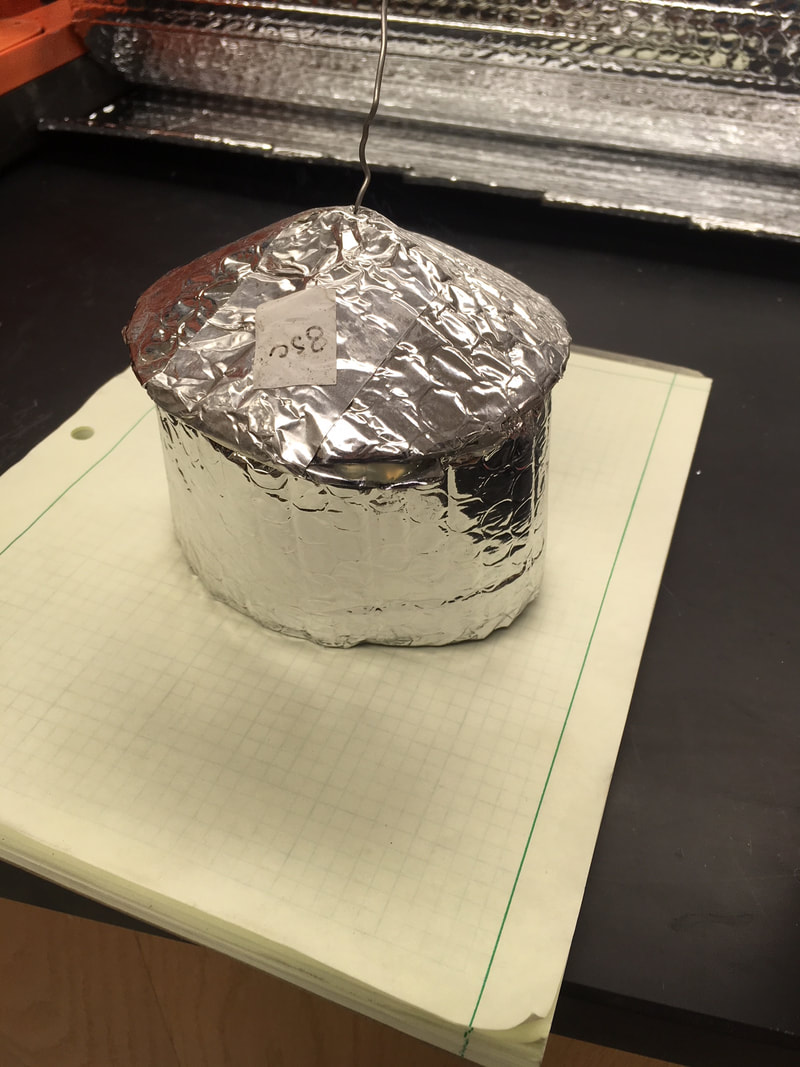
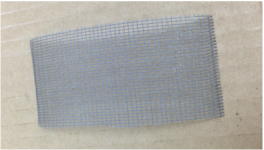
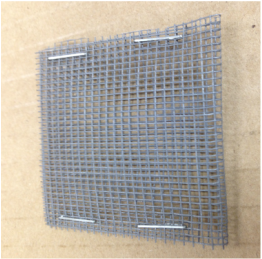
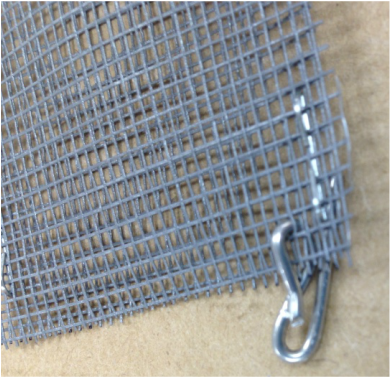
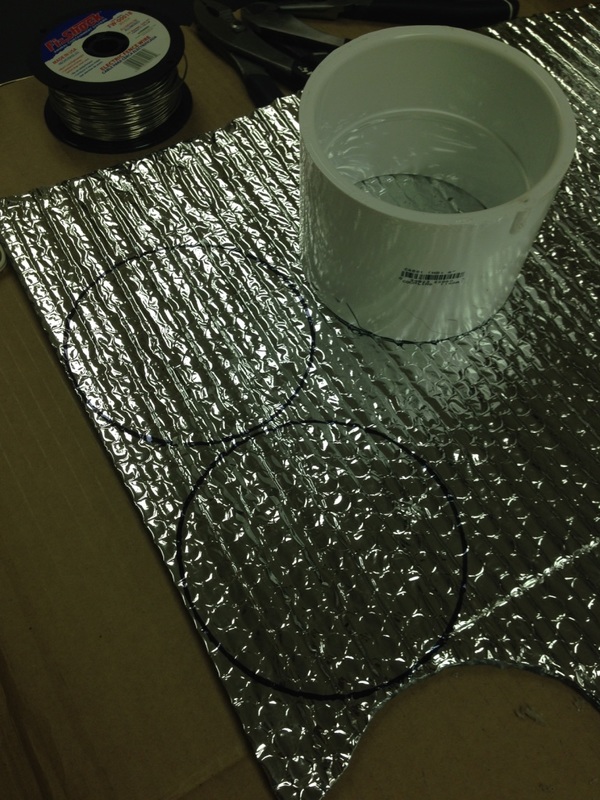
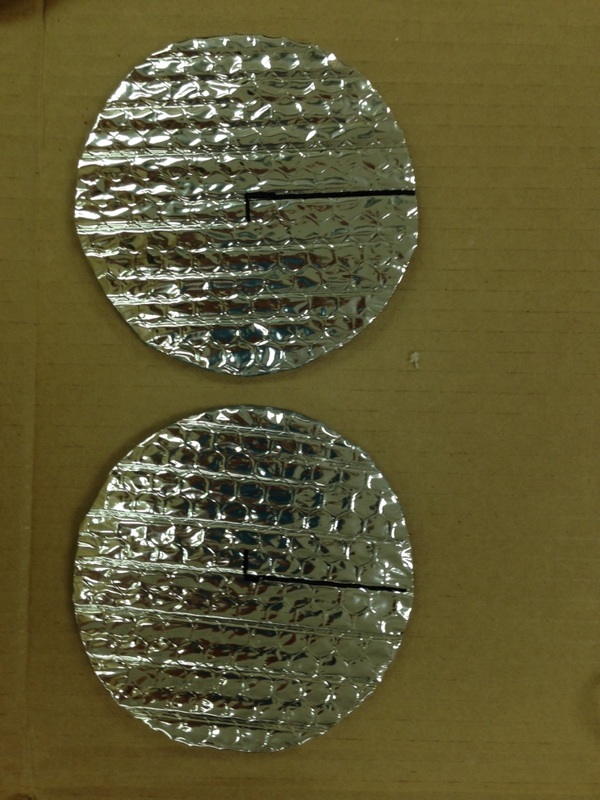
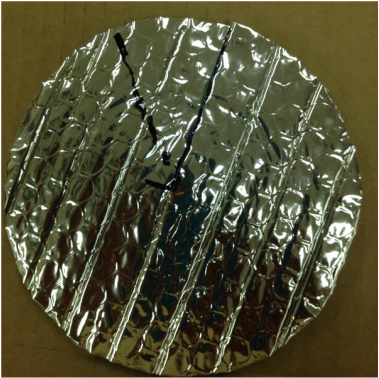
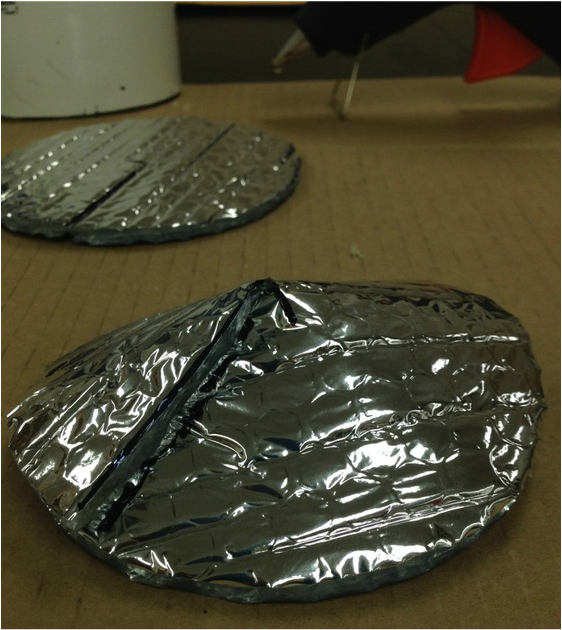
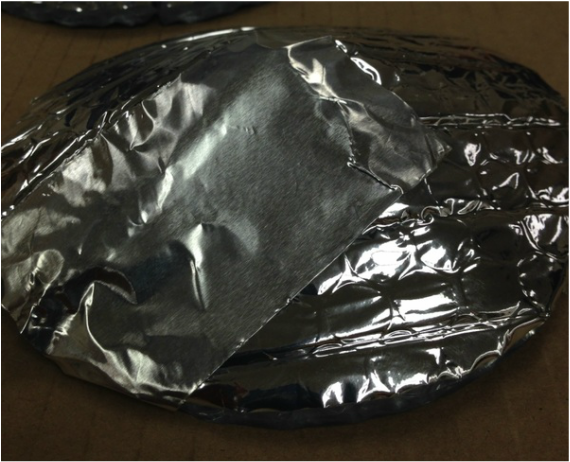
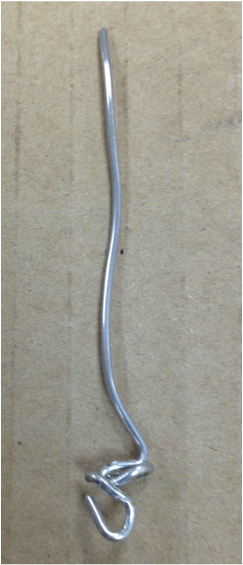
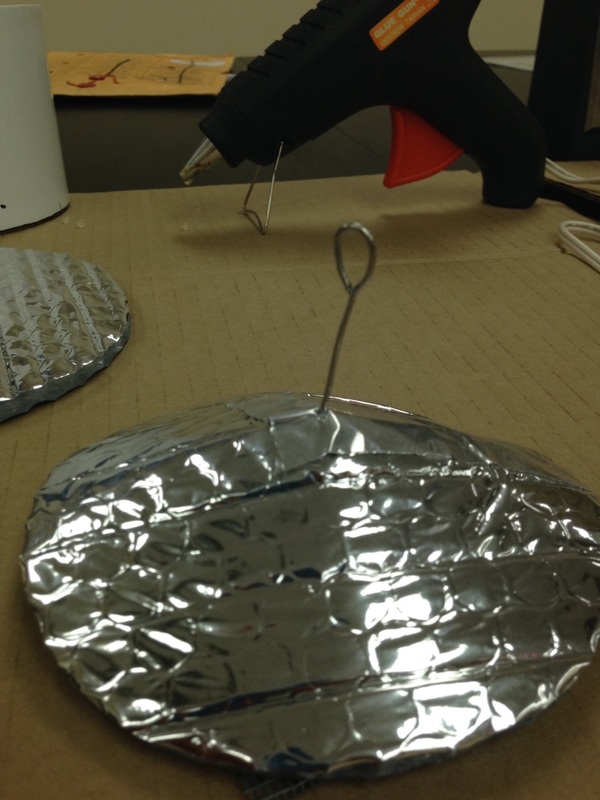
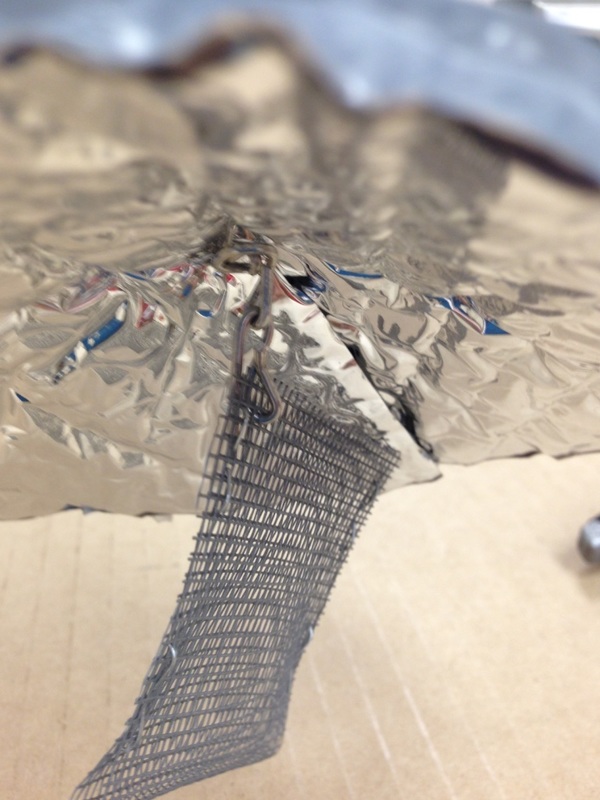
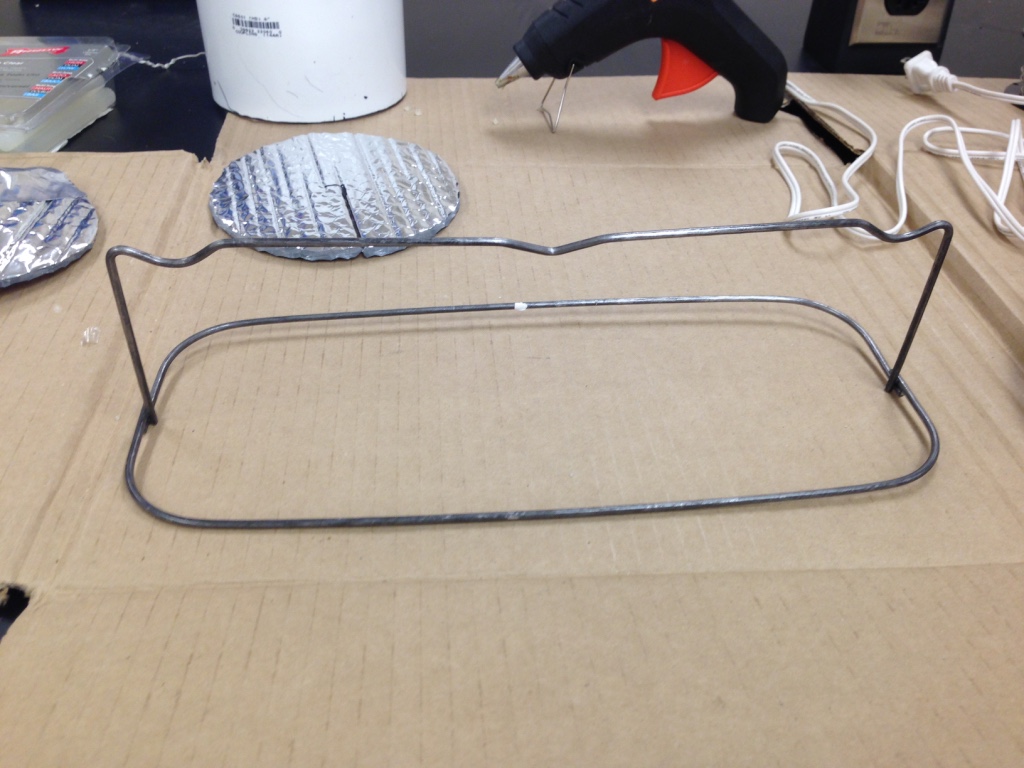
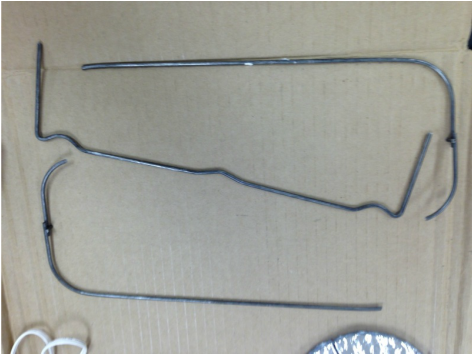
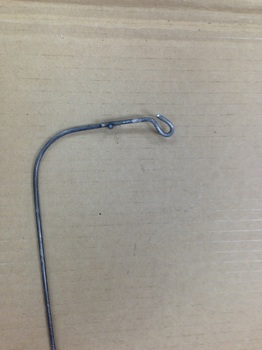
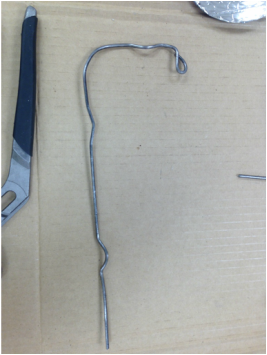
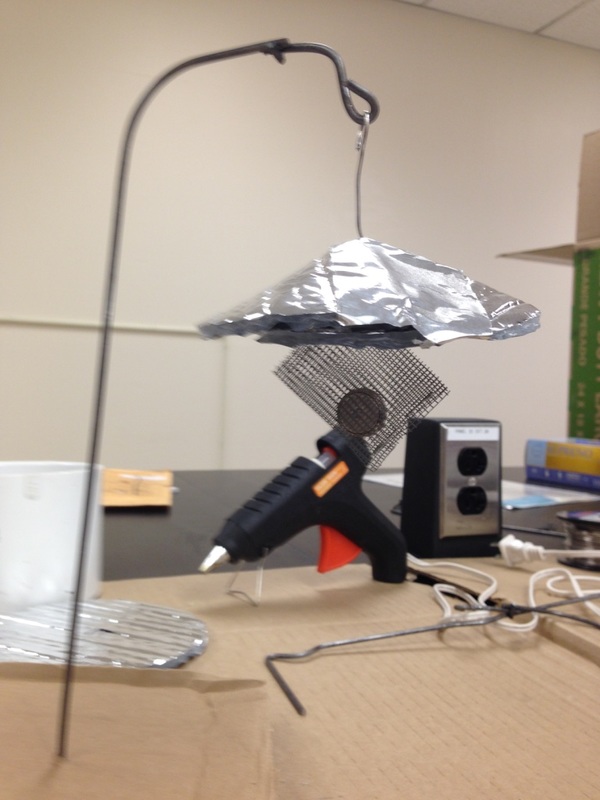
Update: After several data tests, we ran into an issue with sunlight hitting the ibuttons when the sun was low in the sky. The new and improved version includes a side shield from the same reflective material. Original Post: There is a great paper by Julie Tarara and Gwen-Alyn Hoheisel where they manufactured several different radiation shields for temperature data loggers and compared the effectiveness of the designs in regulating temperature. We are starting a project where we plan to deploy some iButton sensors to measure temperature and relative humidity around some seedlings. After taking a look at their various designs and considering our needs, I spent some time wandering around one of those gigantic home improvement stores in an effort to determine how best to construct single cone radiation shields for our sensors. Below I provide a materials list and step-by-step instructions for constructing a shield so you don’t have to spend four hours on a Saturday trying to cobble one together (slight exaggeration, I lost 2 hours to aimless wandering in the home improvement store). The total cost per radiation shield is somewhere south of $0.60 (excluding labor costs) and roughly 1/3 of that cost is tied up in the metal stand to elevate it off the ground at the proper height. If you find yourself building a radiation shield and come up with an improvement, please let me know so we can try it out. Note: This post is not an endorsement for any of the brands listed. Where I note brands, it is simply in an effort make it clear the materials used. Whoever said ecology is nothing but PVC pipe and duct tape? Well, they were wrong. Turns out if you want to build some radiation shields, you’ll need the following: Materials: Silver gray fiberglass insect screen (I purchased a 36”x48” roll for $6.78) Foil tape ($3.35) Reflective insulation (Reflectix 24”x10’ for $10.85) 17 gauge aluminum wire (electric fence wire $4.67) No3 rod chair 3”x10/16” (you’ll find this with the rebar $0.58 each) Stapler Hot glue Methods: 1. Cut a piece of screen that is 9x5 cm (or 5x9 cm, just depends on how you like to measure), fold it in half and staple the edges. Make sure your staples are a couple of rows in from the edge so the screen does not come apart. 2. Cut a 3.5cm piece of wire and fold it into an S hook. Thread the S hook through the corner of the screen bag you made in step 1. Keep in mind, that you can buy little S hooks, but what kind of an ecologist would you be if you just bought something off the shelf when you can spend an exorbitant amount of time making one for a fraction of a penny less? 3. Cut a circle from the reflective insulation. I used a 4” diameter PVC coupling as a template. For this step I recommend using all of those pennies you saved making your own S hooks and investing in a nice heavy-duty pair of shears for $12-15. 4. Mark the center of your circle and make a cut from the edge to the center. If you’re a little obsessive like I am, you’ll measure the exact center of each circle and then realize that once you’ve made the perfect cut you still get an imperfect cone. 5. Overlap the cut edges by 4.5cm and use hot glue to adhere the pieces. Wooden clothespins are a good choice for holding the seam together while it dries. It turns out that it takes hot glue exactly the same amount of time to dry that it does for the hot glue to give you a first degree burn on your fingers while you’re holding the seam together. (In case a representative from OSHA reads this, I didn't really get first degree burns. I just used artistic license to try and keep this entertaining.) 6. Use an 8cm piece of foil tape to cover the seam and the point of the cone you just created in step 5. I don’t recommend cutting your fingernails right before you do this or it will take you far longer than it should to get the backing off of the tape! In fact, this made me wonder if all HVAC professionals maintain a longer nail on one finger to aid in separating the backing from the tape. FYI: stopping to wonder during this process will prolong the time required to complete fabrication. 7. Cut an 11cm piece of wire and at 4 cm from one end fashion a loop that is perpendicular to the direction of the wire. This will serve as a stop for your cone. 8. Below the loop, fashion a hook to attach the S hook you created for the screen bag. 9. Pass the wire through the cone at the point, piercing the foil tape. Probably an unnecessary step for me to write. If you’re building your own radiation shield, you probably could have figured this one out. 10. Fashion another loop above the cone to attach to the stand. 11. Cut the No3 rod chair into three pieces at locations that use the bends to your advantage. In case you’re wondering why they call it a rod chair, it’s because they set on the ground and support rebar for reinforcing concrete. You’ll find these in the concrete section of your home improvement store. When you enter the home improvement store, start at the far end where the garden section is and wander aimlessly up and down every aisle. When you get nearly to the other end of the store, you’ll find the concrete supplies. And now you’re asking yourself why did this guy start in the garden section if he knew concrete supplies were on the other side of the store? I can’t help but wander through these stores because I might find something I just can’t live without. 12. Use two pair of pliers to bend a loop in the short end of the rod chair piece. You’ll want to use two pair of pliers because the weld will not take the torque required to make the bend with only one pair. I used a pair of regular pliers, a pair of needle nose pliers, and a pair of channel locks to make the bends. If you must know, I found those three pair of pliers and a pair of wire cutters in a four pack for $15 while wandering the aisles between the garden section and the concrete supplies. See, it can pay off to wander. 13. Attach your cone and bag to the rod chair stand and voila, you’ve manufactured your very own radiation shield for an iButton. With a little cardboard from the recycle bin and some hot glue, you can even make your very own decorative display stand. 14. Repeat steps 1-13 because you know that n=1=worthless; because you have to hedge your bets against demonic intrusion (sensu Hurlbert 1984).
|
Details
Archives
October 2023
Categories
All
|

 RSS Feed